The Grounds Guys provide essential tips for preparing flower beds for spring planting:
|
Last Updated May 10, 2023
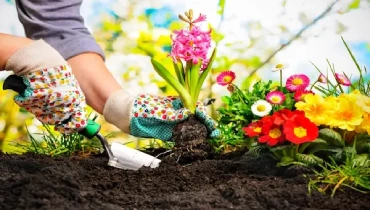
Annual flowers around the exterior of your house add a welcome splash of color to any landscape and are not difficult to care for once they are established. However, getting them established does require some skill and a few specific steps to ensure they grow and flourish. We’ll review some of the things you’ll need to do to prepare flower beds for spring planting.
Table of Contents:
Assessing the Bed Foundation
First, assess what you’re starting with in terms of soil, existing growth, and available space. Is the soil currently suitable for planting? Will it need to be tilled, fertilized, or prepared in some way prior to planting? Do you have existing plants—either flowers or shrubs—to work around? Do you want to keep the existing pants and/or shrubbery, or start from scratch? Utilizing existing plants and shrubbery can reduce overall cost and provide a nice foundation to work with provided it complements what you intend to plant.
Getting Down to the Root of the Weed Problem
Time to get a bit dirty! Tackling weeds has a bad reputation, but it’s not a big deal. Keep in mind that you’ll never get rid of all weeds. Like washing your car, weeding just has to be done. The good news is you have some options to choose from.
Related Topic: How to Kill Weeds in Flower Beds
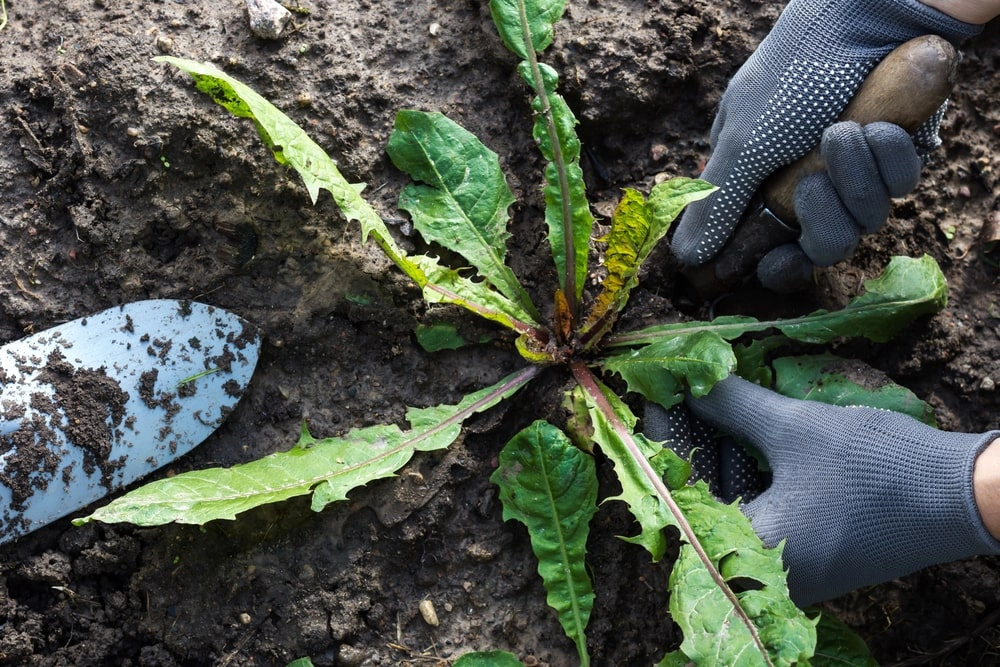
It’s fine to pull young weeds by hand if you get the root. If you don’t get the root, the weed will grow back. This method is not the best choice for large areas, and the weeds you didn’t kill can regrow and spread quickly. To minimize future weed problems, you must kill or remove the root of the weed. Therefore, it’s best to weed your beds after a good rainfall. The soil will be moist, which will allow the roots to release from the soil more easily—leaving behind fewer roots to regrow later.
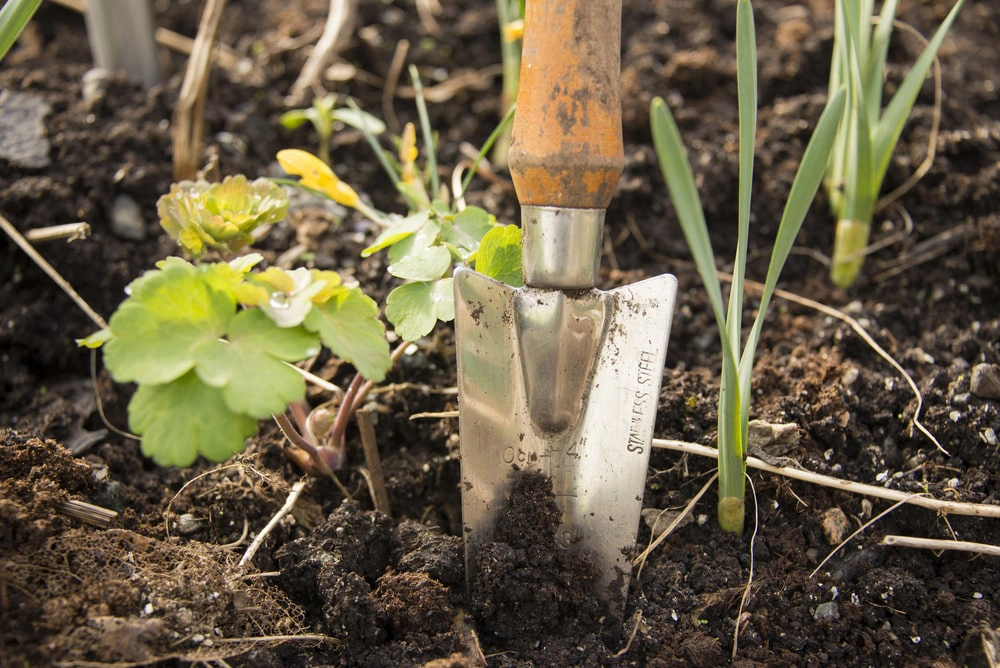
Another method is to use a tool, such as a shovel a trowel, or a “weed popper.” You can dig precisely and get the whole root, especially early in the season before the weeds really take root. With a bit of practice, you’ll find you are getting quite skilled at removing weeds this way.
A more common approach, and generally easier than manual labor, is spraying weeds. You can use a variety of herbicides, either selective or nonselective. Nonselective herbicides are designed to kill just about any plant it come in contact with, while selective herbicides may kill only broad-leafed plants. Remember to spray on a calm day—minimal or no wind—and use a piece of cardboard as a barrier in front of plants you don’t want to be sprayed.
Clear Any Leaves and Debris
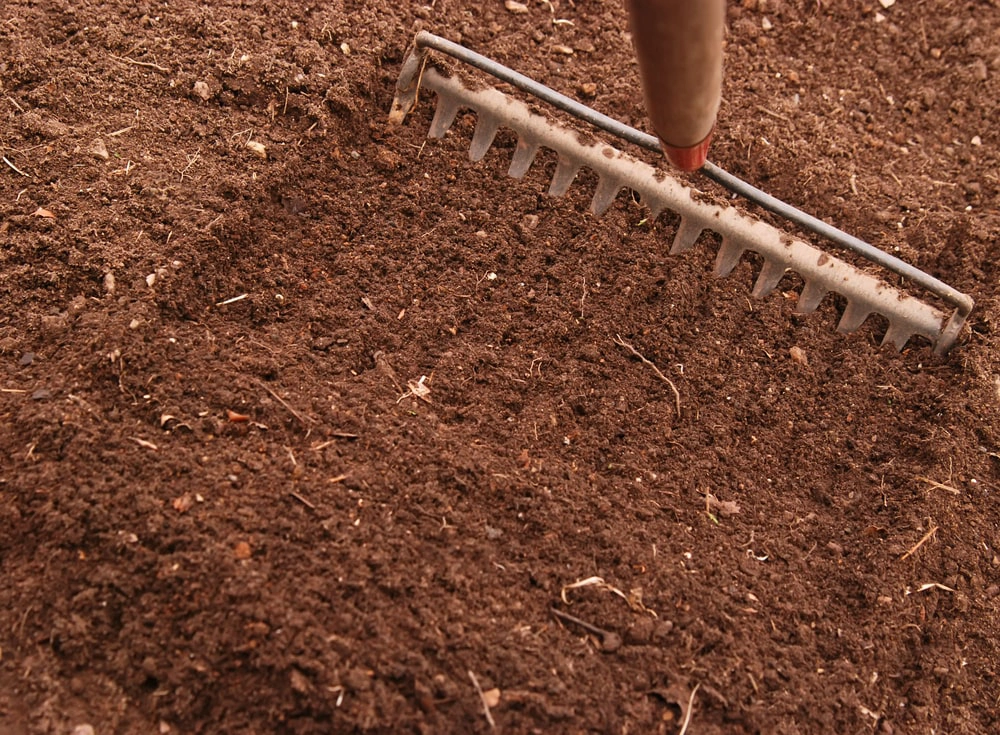
The next step is to continue clearing the planting beds. A rake is handy for culling any debris or twigs that have accumulated. Use a blower to remove or dislodge an excessive amount of leaves that may have piled up over the winter months. Blowing the leaves out of the beds and onto the lawn will make them easier to rake up and bag. Once you’ve cleared out all the leaves and debris you can assess the soil to determine if it’s suitable and ready for planting.
Add Compost
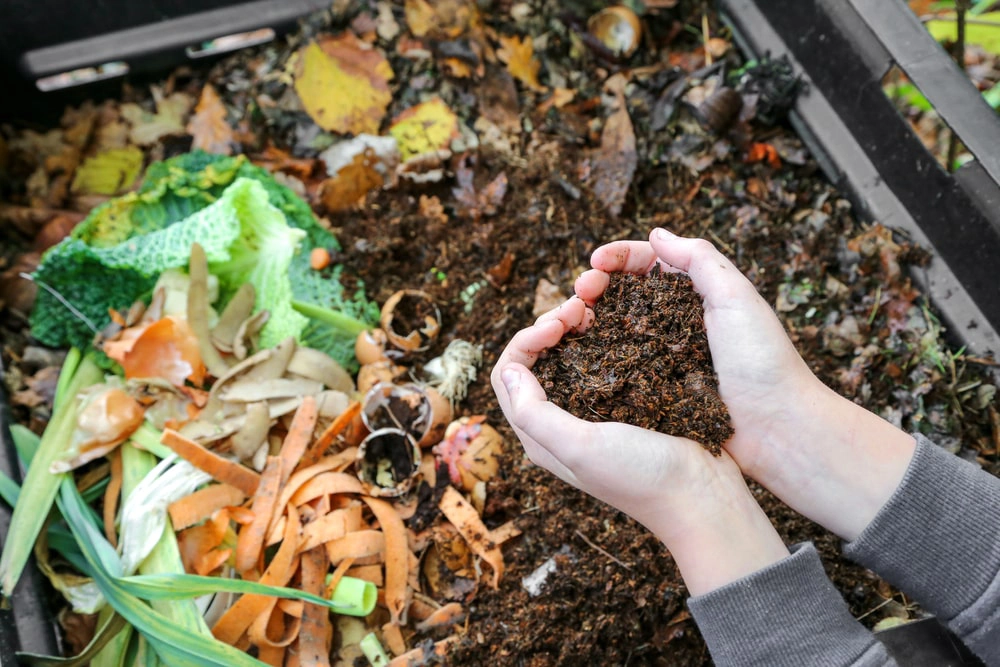
Compost is a crucial ingredient for soil health. It’s healthy for your plants, as provides nutrients and lightens heavy clay soils but holds moisture better than sandy soils. You can develop your own organic compost from discarded fruit and vegetable scraps, coffee grounds, and eggshells, or visit your local home and garden center, where you’ll find a variety of compost options. Add a little compost to each planting hole and mix it with some of the soil you dug up to aid healthy plant growth. Then top-dress the entire planting bed with a couple of inches of compost.
Turn the Soil
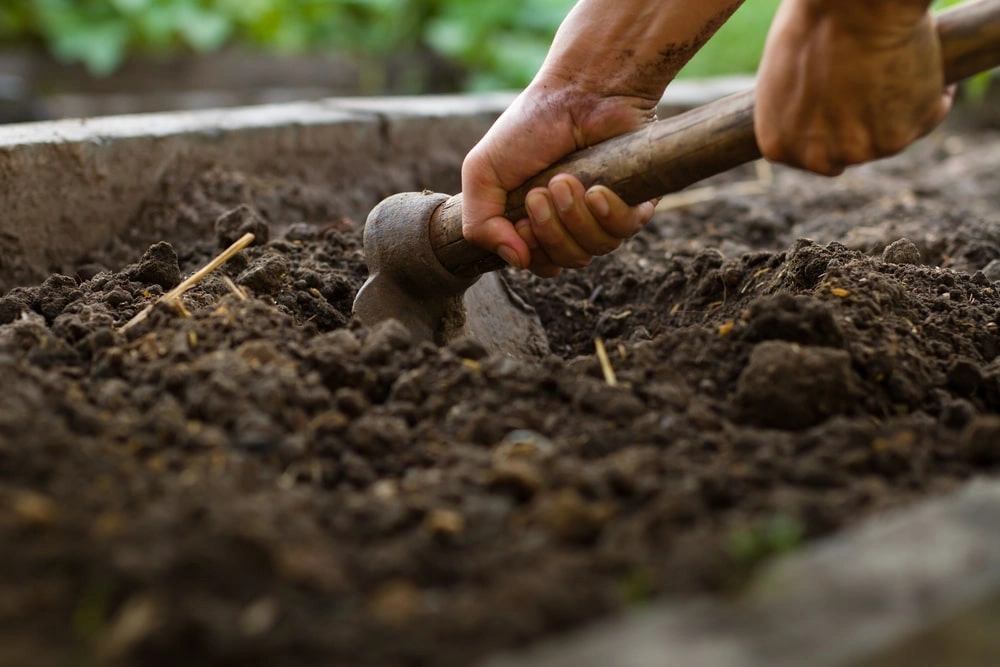
If the soil in the flower beds is compacted and heavy, it’s advisable to turn the soil with a shovel to loosen it. Make sure to mix in the compost when turning the soil. This will improve the soil profile and help new plants grow better. You don’t need to dig a foot deep; 2-4” is usually just fine. After this step, it should be a little easier to plant your new flowers in the loosened soil. They’ll also do better throughout the growing season because the roots can spread out more easily through the loosened soil.
Top the Planting Beds with Mulch
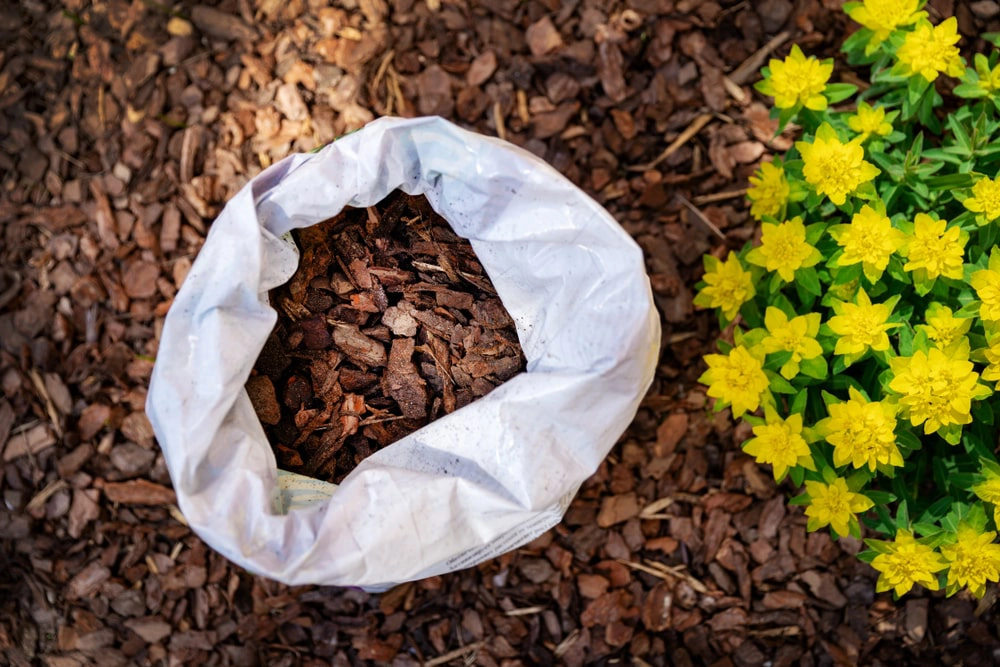
The last step is to add mulch to your flower beds. Mulch is both decorative and functional. Mulch—made from bark or wood chips—can be used to cover the bare ground in the beds. It will also help suppress weed growth by limiting the number of seeds that make their way into the flower bed soil and begin sprouting. Mulch also helps to hold moisture longer, so plants and flowers won't dry out as quickly. When using rock or gravel to cover flower beds, it’s a good idea to put down landscape fabric to minimize the growth of weeds. Fabric is not necessary when using bark or wood chip mulch.
Giving Your Beds an Edgy Look
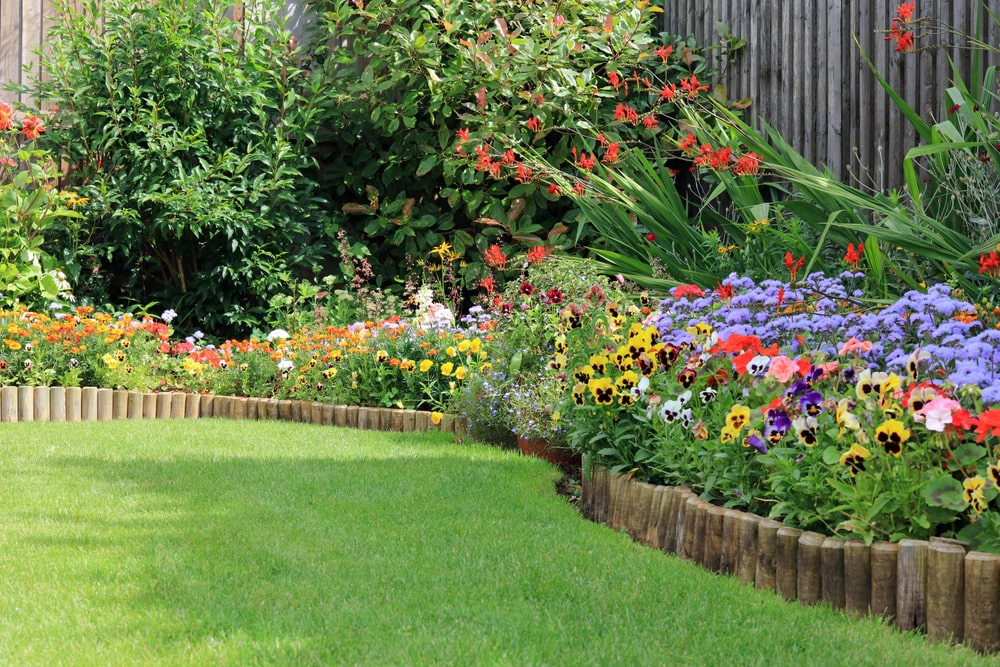
After you’ve prepped the flower beds think about edging around the bed to frame your beautiful work. Edging is a great way to separate the flower beds from the yard and make them stand out. Some grass varieties will spread if given the chance. So edging is often more than just an esthetic detail, it can also help prevent grass from overtaking your flower beds. To learn more about proper edging techniques, read, ‘How to Edge a Flower Bed'. Choose either a simple shallow trench that you dig between your flower bed and lawn, or bricks, plastic edging, or wood to frame the beds. Each choice has its pros and cons and offers a slightly different look, but all serve the same purpose to keep flower beds looking good.
Adding a Finishing Touch
Lastly, designing your flower beds is a fun part of the process. This is your chance to be creative using different colored flowers and plants. If you would like to learn more about the different arrangement and color options, read, ‘How to Arrange Flowers in a Flower Bed'.
You are almost done, but there are two important things you still have to do. Fertilize your flowers using a flower fertilizer. This will help your flowers grow and produce colorful blooms. Water in the fertilizer also helps set the plants in the soil. The first watering can be a little longer than normal as you introduce moisture into the dry soil you have been working in.
Professional Flower and Garden Bed Maintenance Services
After the work is done, it’s time to grab a cold drink, relax, and enjoy the beauty of your creation. Adding flower beds to your landscape design is a great way to enhance the beauty of your property. The vibrant colors can really change the look and feel of your home and add an inviting touch.
If you would like to add flower beds to your home, but don’t have the time, or need help, contact the professionals at The Grounds Guys. They are experts when it comes to designing, maintaining, and keeping your flower beds and the rest of your property looking its absolute best!