The Grounds Guys explain how to re-stain your deck, starting with power washing for best results.
|
If you spend a lot of time outside, your deck is the likely gathering place for friends and family. Has your deck seen better days? Do you hope to revitalize it without spending money on a new deck? The key is to power wash the deck before re-staining it.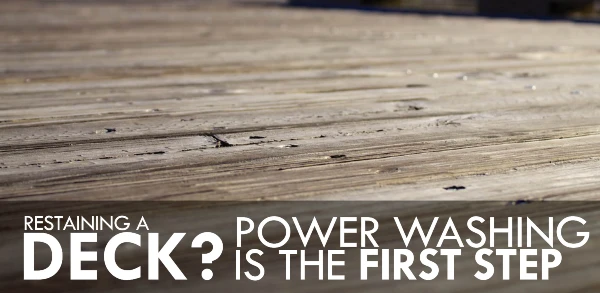
Why Power Washing is a Good First Step
Before you even think about adding a fresh coat of stain, you need to remove the existing finish. Otherwise, the new stain could chip and peel faster because it merely sits on top of the old stain instead of penetrating the wood. Thorough cleaning is also a good first step in the preparation for deck staining because it removes grime, dirt, rust stains and gray surface oxidation.
You have a few choices for cleaning your deck. One of the best choices is power washing. This shoots a high-pressure spray of water on the deck to clean and prepare it for re-staining. Here are the benefits of power washing your deck:
- Robust: Power washing removes stains and debris in one fell swoop. It even gets rid of debris from between the boards, which helps prevent fungus growth and wood rot.
- Efficient: You don’t have to spend a single minute on your knees scrubbing away at the wood when you use a power washer to clean your deck.
- Eco-friendly: When you only use water to clean your deck with power washing, you don’t have to worry about harming nearby vegetation or introducing harmful fumes to the atmosphere.
- Protected: Power washing doesn’t just clean your deck; it also extends its life and helps you avoid costly repairs due to rot.
Tips for Staining a Deck
Once your deck is power washed, you have a clean slate for applying new stain. Follow these tips for professional results you can be proud of:
- Allow the deck to dry completely: This means waiting two to three days after power washing it to apply stain. If you attempt to stain a wet deck, the stain won’t adhere well to the wood and is likely to crack and peel.
- Wait for the right conditions: Apply stain when it’s 50 to 90 degrees outside and the deck is in the shade. Wait until there’s no rain in the forecast for the next 12 to 24 hours.
- Start off right: Choose a natural bristle brush to effectively work the stain into the wood. Test in a small area and let it dry to make sure you like the finished color. If you need multiple gallons of stain, mix them together first to ensure color consistency across the entire deck.
- Apply the stain: Heavily coat the end of all the boards. Then on the surface of the deck, stain sections of two to three boards using long, fluid strokes. To avoid “lap marks,” work quickly so the stain is still wet when you move onto the next section.
- Don’t overdo it: No matter what type of stain you choose, more is not better. Over applying stain may cause it to peel or crack when exposed to moisture. It could also develop a sticky surface which prevents it from drying properly.